英语
英语 日语
日语 中文简体
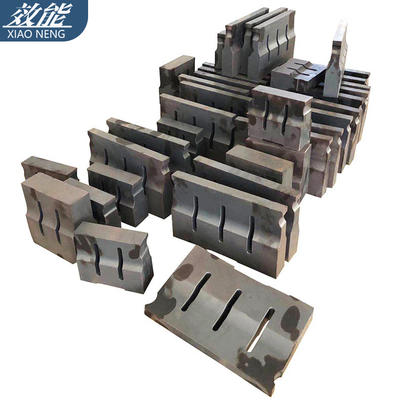
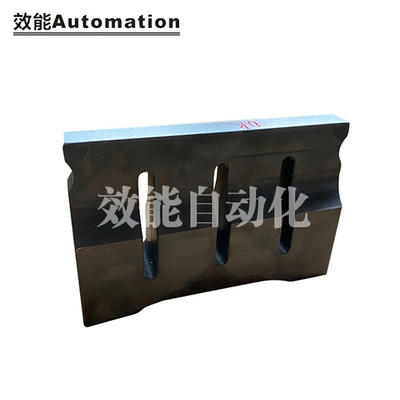
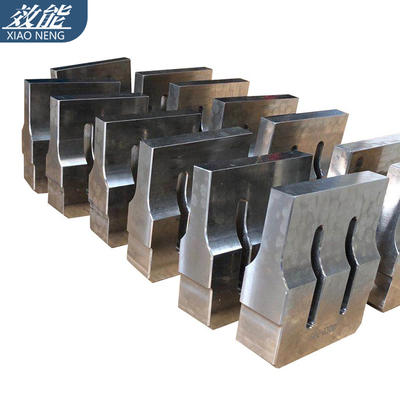
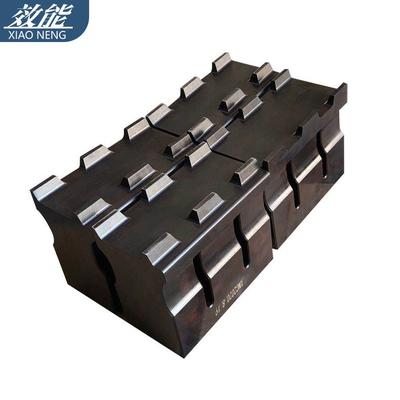
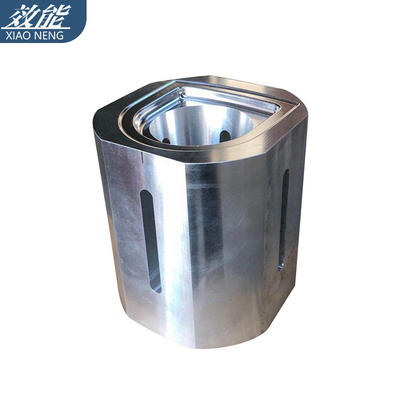
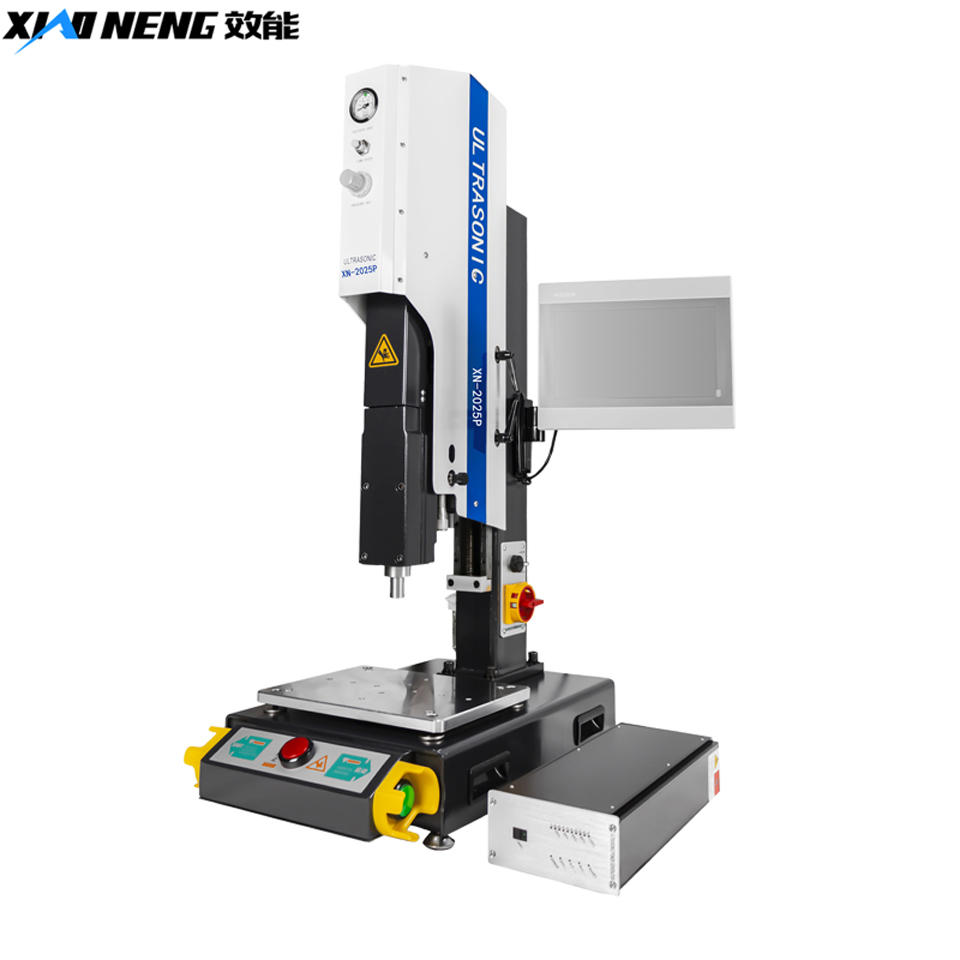
中文简体Replacement welding steps of China Hot Plate Plastic Welding Machine equipment factory
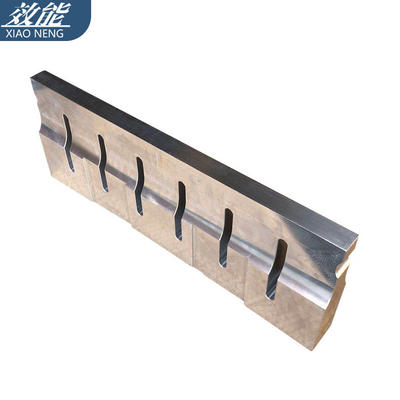
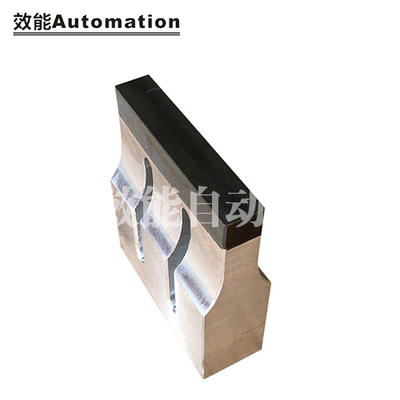
1. First, check whether the contact surface of ultrasonic horn is damaged or cracked
2. Check whether the welding head is damaged
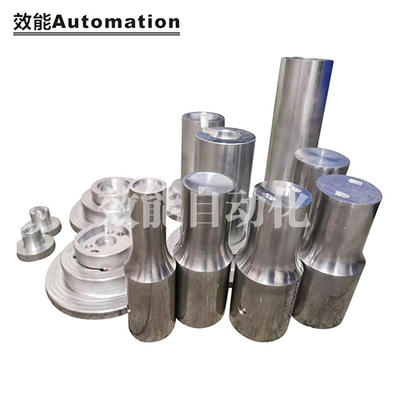
Welding head installation of ultrasonic welding machine
1. First, clean the transducer, welding head and welding head screws with alcohol or gasoline, and apply a thin layer of yellow grease on the joint surface of the welding head screws, transducer and welding head,.
2. The ultrasonic horn is fixed in the middle of the rotation range, and the horizontal adjusting screw of the welding head is fastened
3. Screw the welding head into the transducer by hand until it cannot rotate.
4. Use the welding head locking wrench to tighten the welding head (about 300Kg/cm torque). At this time, pay special attention not to let the transducer rotate to prevent the tip from twisting. (If the transducer is found to rotate, tighten the four welding head horizontal adjusting screws a little more).
1. Set the selector switch to the manual position, adjust the pressure adjustment knob to make the pressure gauge indicate about 0.2Mpa (about the small pressure that can make the welding head rise)
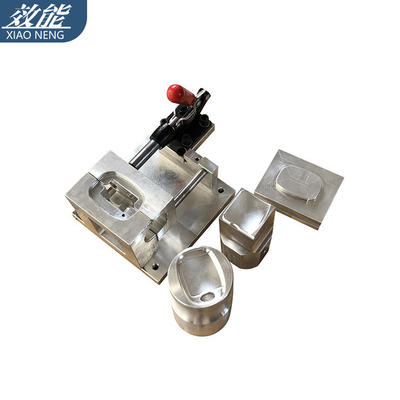
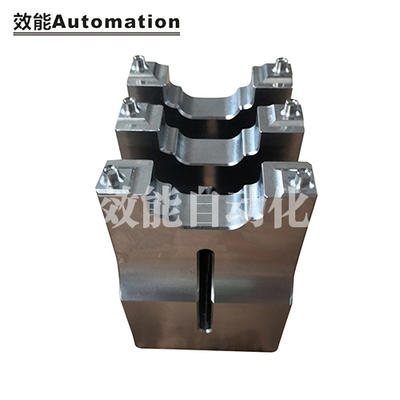
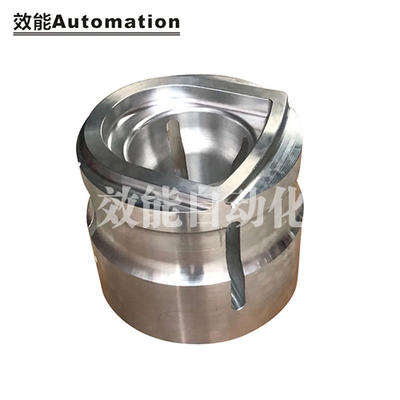
2. Place the lower welding die on the worktable, and then place the workpiece in the lower welding die.
3. Loosen the locking rocker of the machine body, turn the lifting handwheel to make the distance between the upper welding die and the workpiece more than 75mm, and tighten the locking rocker.
4. Press the two lowering buttons with both hands to lower the upper welding die.
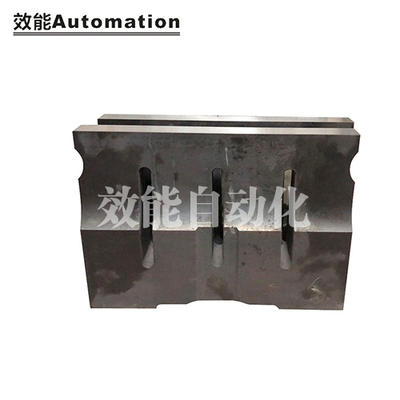
5. Loosen the set screws of the four vibrators, rotate the upper welding die to fit the workpiece, and then lock the set screws of the four vibrators.
6. Loosen the stop screw and rotate the stop screw to make it contact the lifting table. Press the emergency rising button to raise the upper welding die, and then turn the stop screw about 7mm.
7. Press the two lowering buttons with both hands to lower the upper welding die. Loosen the locking rocker of the machine body, rotate the lifting handwheel, slowly lower the upper welding die, and move the lower welding die at the same time, so that the working face and the upper welding die contact evenly, and lock the machine body and the rocker.
8. Press the emergency rising button to raise the welding head, rotate the stop screw, and drop it by about 2mm. The specific size depends on the workpiece, so that the stop screw is disconnected from the lifting during operation. However, when there is no workpiece in the lower welding die, the stop screw can prevent the upper welding die from touching the lower welding die and protect the machine from damage.
9. Fix the lower welding die on the workbench with the screw pressing plate.
When the overload protection lamp of ultrasonic welding machine is on, it indicates that the equipment cannot be used normally. Today, we will briefly analyze the causes of overload of ultrasonic welding machine:
1. Overload due to excessive pressure
2. The welding head, luffing lever or transducer is loose or the welding head is cracked. It should be noted that if the equipment is overloaded (without mold), it is basically a transducer problem
3. Improper tuning results in excessively high power, current and voltage
4. Circuit failure of ultrasonic generator
5. Excessive frequency deviation due to insufficient power
6. Generator and transducer cable fault
7. Abnormal transducer impedance
As a leading China custom Special ultrasonic welding machine for automobile steering wheel leathers suppliers, we are committed to the research and development and application of welding technology for industrial plastics.